Layers & blending
How the stack is built, how layers combine, and how masks limit where a layer applies.
The layer stack
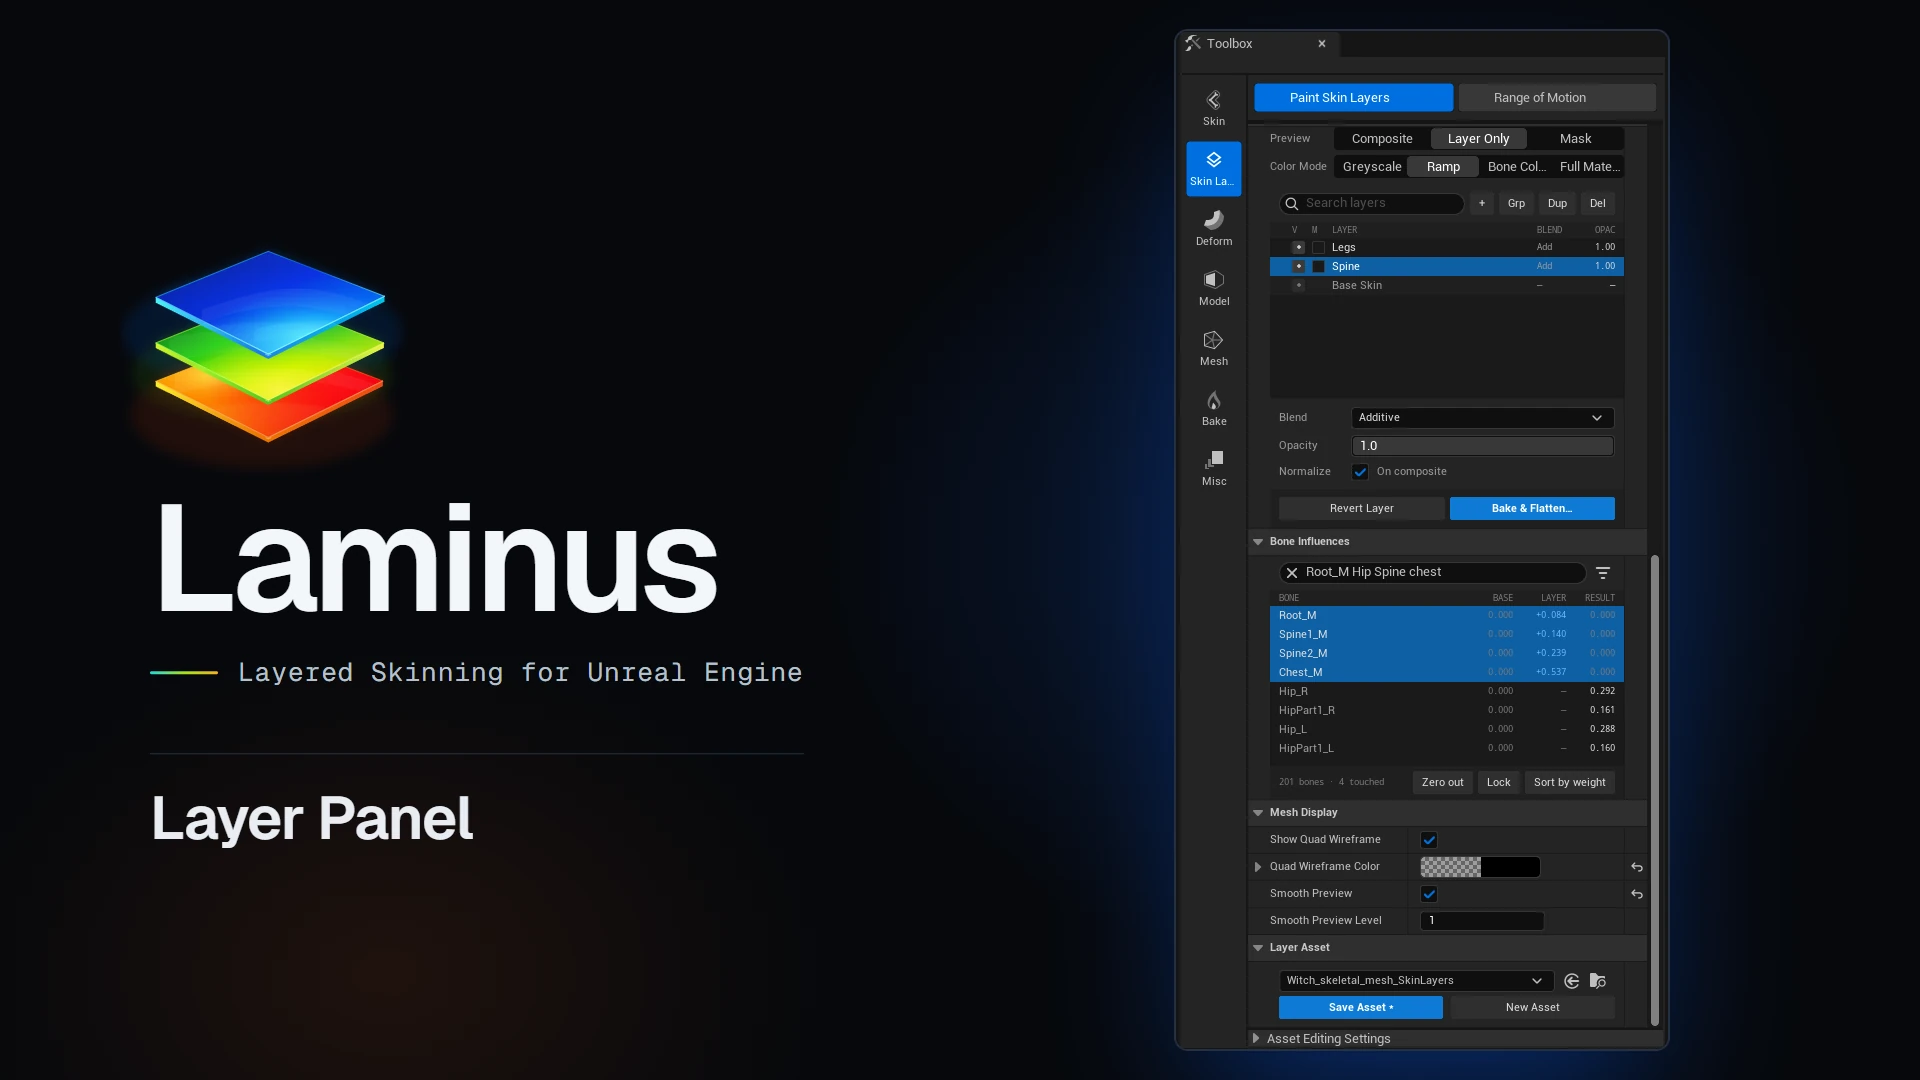
Layers evaluate from the bottom up. Base Skin sits at the bottom, and every layer above it composites over what lies beneath.
- V
- Show or hide the layer in the composite.
- M
- The layer's mask.
- Layer
- The layer name. Double-click to rename.
- Blend · Opac
- How the layer combines, and its overall strength from 0 to 1.
- + · Grp · Dup · Del
- Add a layer, group layers, duplicate, delete. Drag a row to reorder.
How layers combine
At each vertex, a layer contributes its opacity × mask × painted influence. Where a layer covers a vertex only partly, the layers beneath still show through in proportion. You paint only the contribution a region needs, and nothing is normalised away while you work.
Groups
Grp gathers layers into a group. A group has its own opacity and mask, and both apply to every layer inside it on top of each layer's own.
Masks
Every layer and group can carry a mask from 0 to 1. Set the brush target to Mask to paint it with the same brushes you use for weights, or generate one from a bone selection using the engine's native bind algorithms, with extra options and a layer workflow.
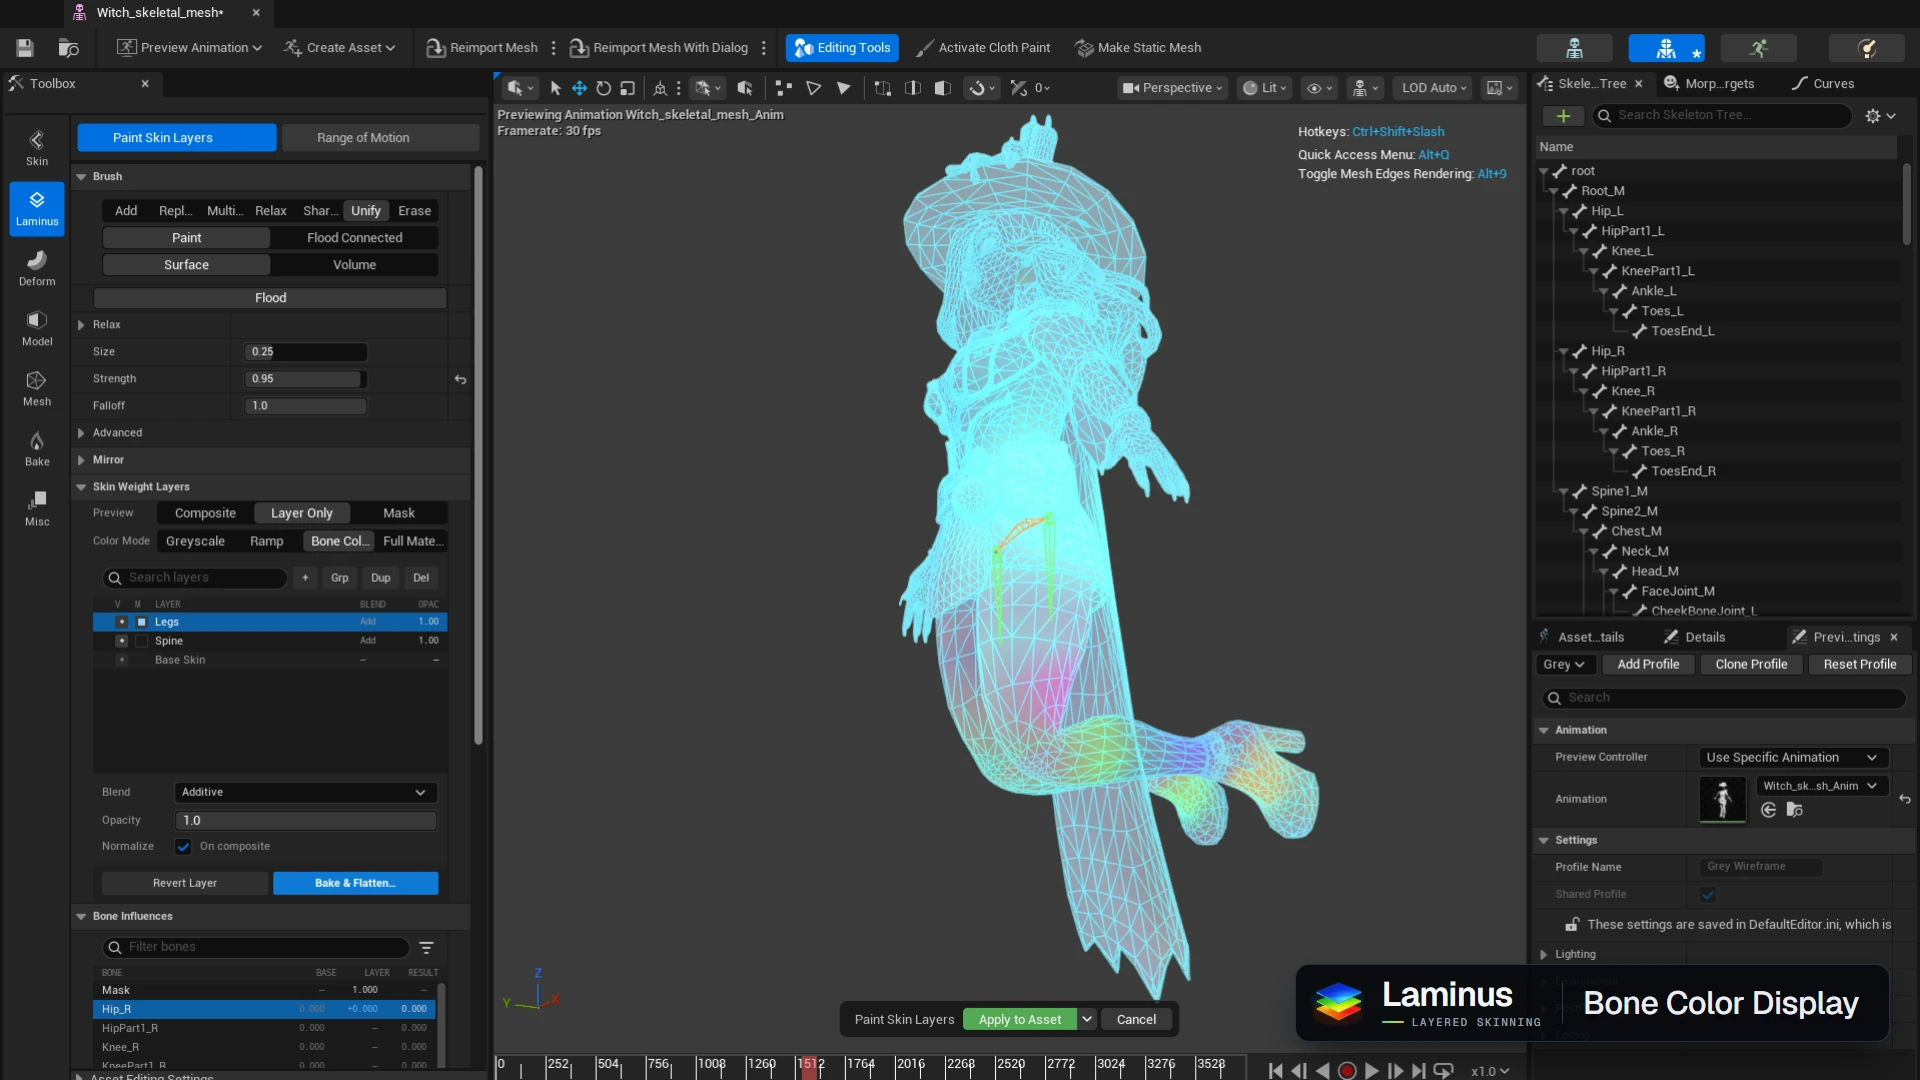
- Normalize peak
- On by default. Scales the generated mask so its strongest vertex reads as 1.
- Falloff start · end
- 0.15 and 0.6 by default. At or below the start the mask is 0; at or above the end it is 1.
Preview and colour modes
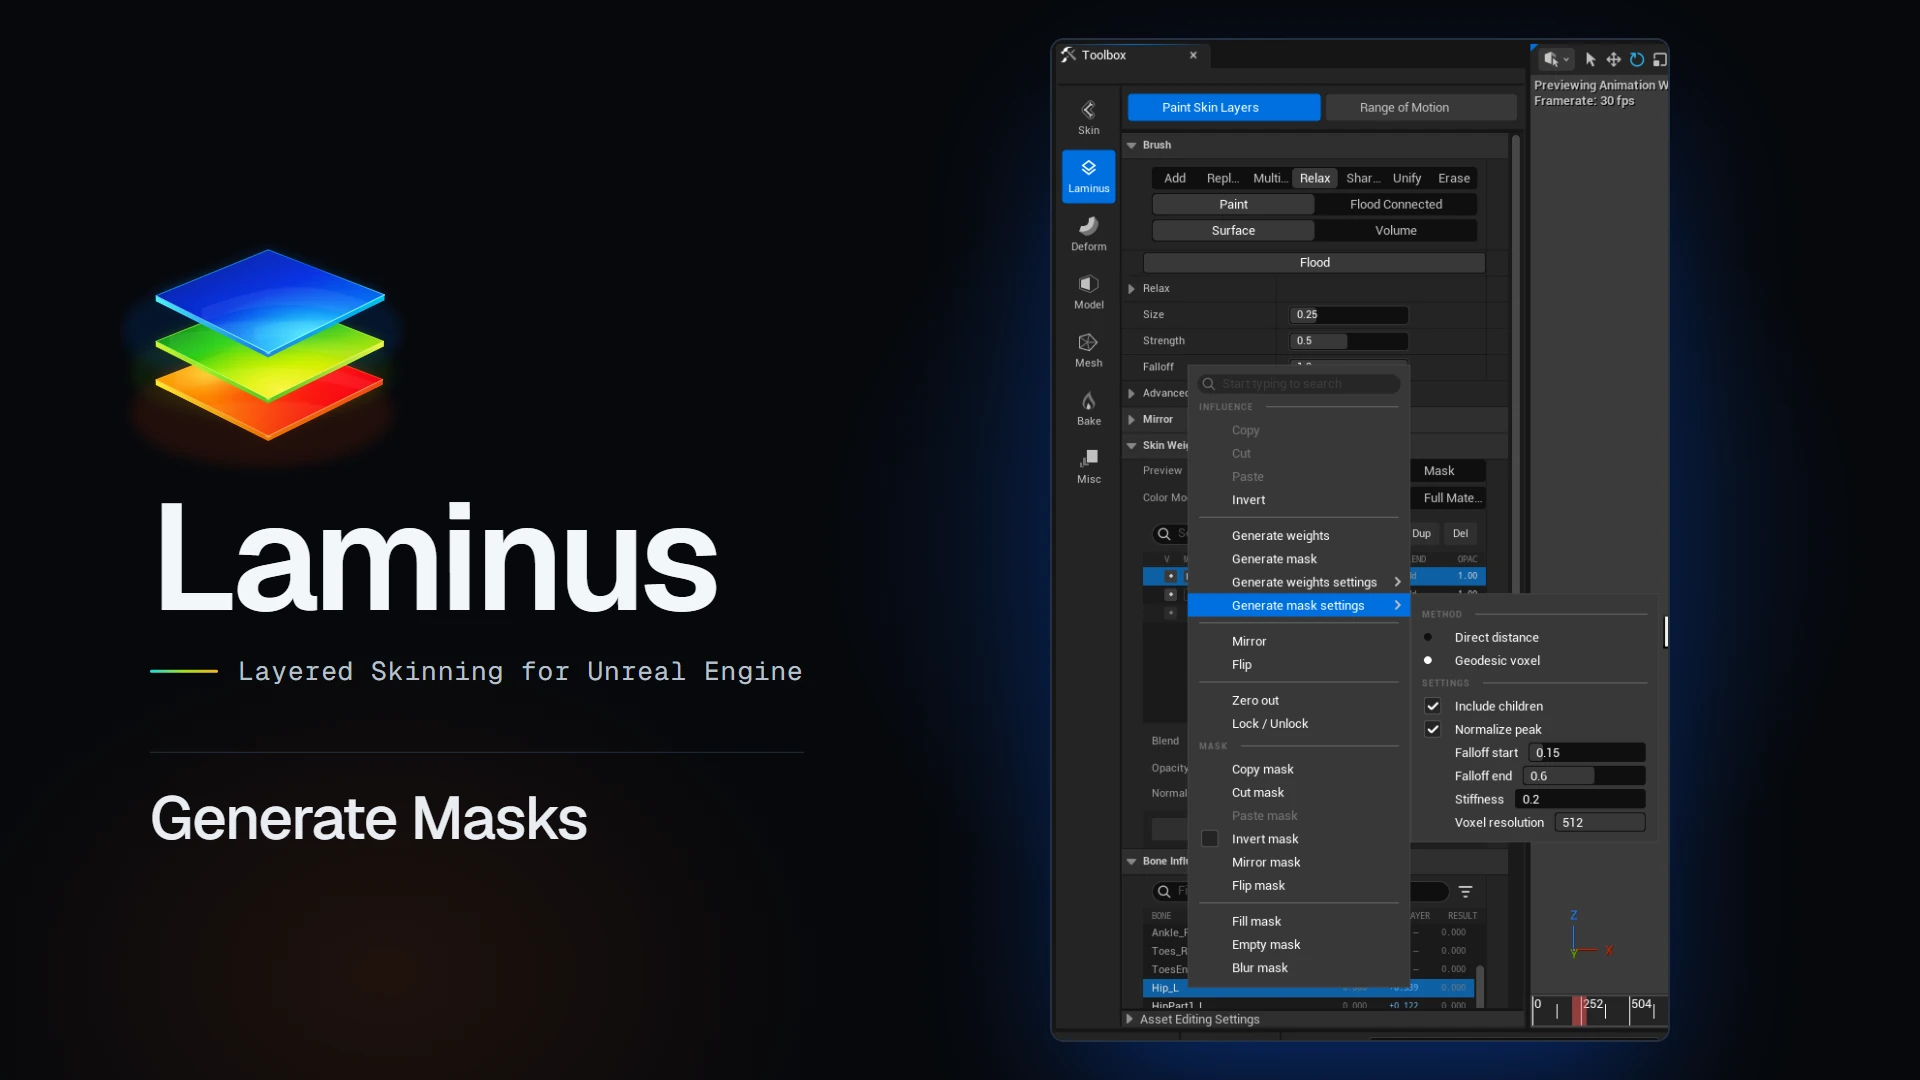
- Composite
- The whole stack.
- Layer Only
- The selected layer alone.
- Mask
- The selected layer's mask.
Colour modes are Greyscale, Ramp, Bone Colors and Full Material. They use the same names and order as the engine's skin weight paint tool.
Generate weights
Generate fills a layer's weights from the bones you select. It uses the engine's native bind algorithms, with the same defaults as the Bind Skin tool, plus extra options and a layer workflow.
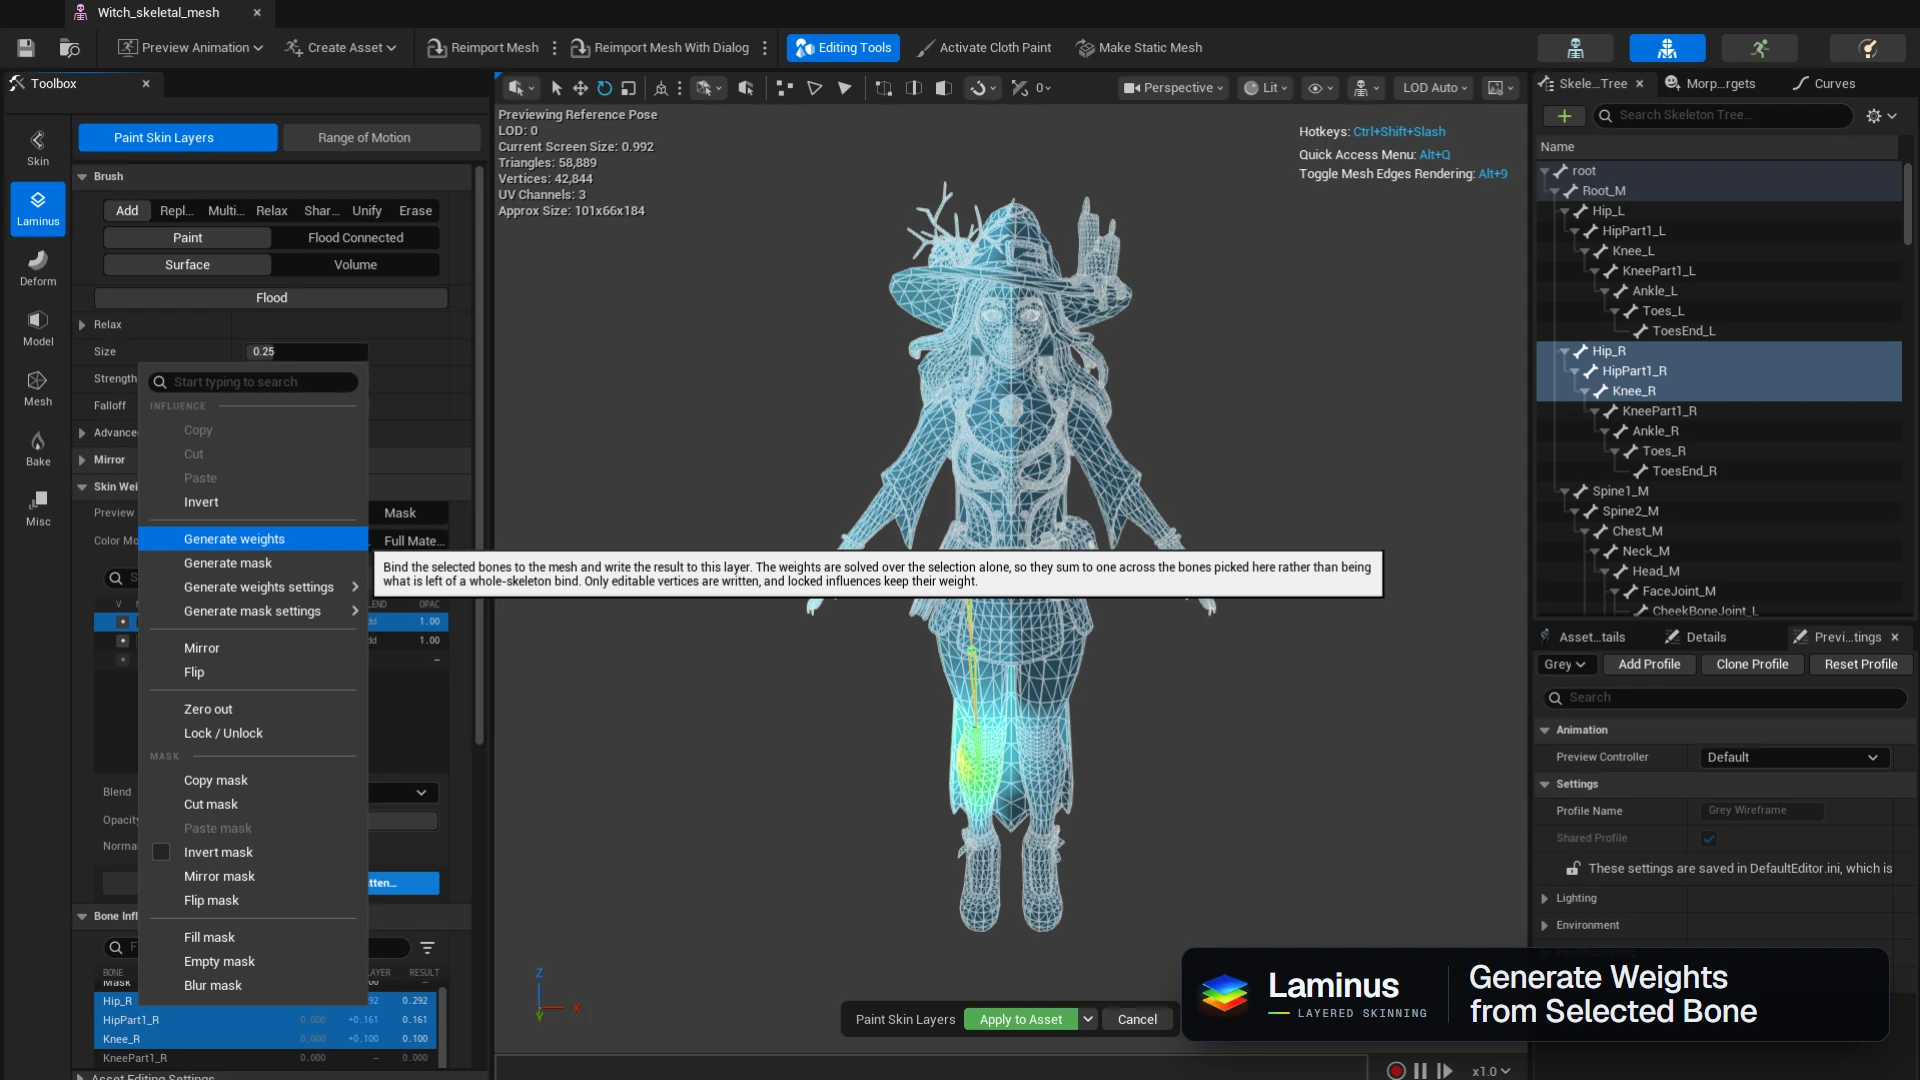
- Direct Distance
- Inverse distance to the bone. Fast, but reaches across folds.
- Geodesic Voxel
- Distance measured through the mesh volume. Slower, and respects folds.
- Stiffness
- 0.2 by default, from 0 to 10. Lower values let distant bones contribute more.
- Max influences
- 5 by default. The most bones the solve may place on one vertex.
- Voxel resolution
- 128 by default. Geodesic Voxel only.
- Include children
- Off by default. Adds every bone beneath the selected ones, so
hand_lcan mean the whole hand.